Recently in electronics Category

tablet time

| No Comments | No TrackBacks
 
switching it up.

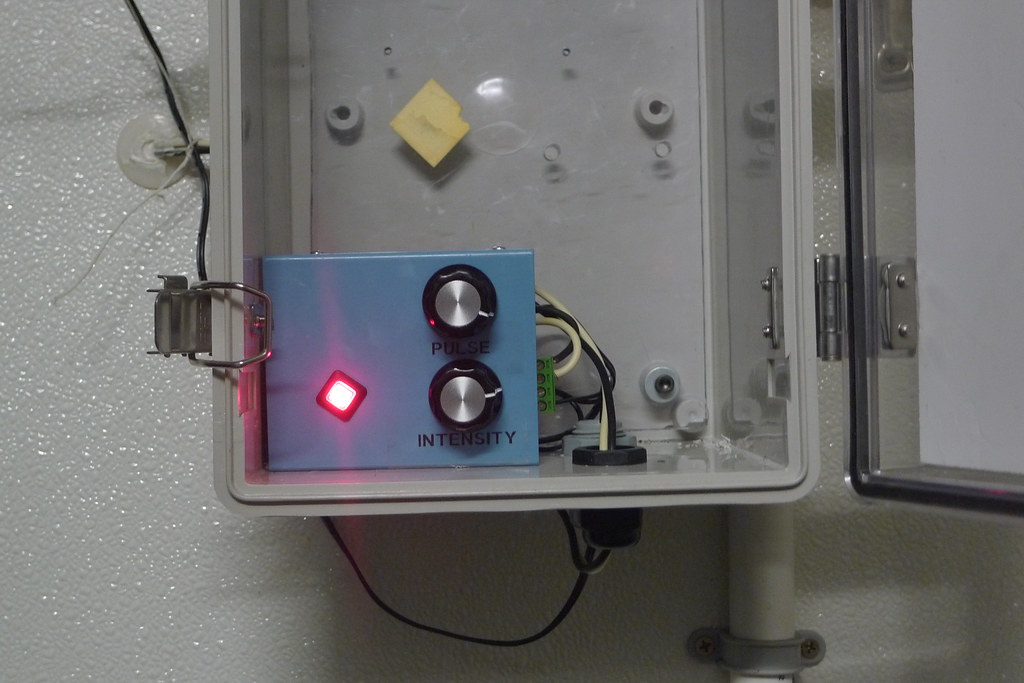
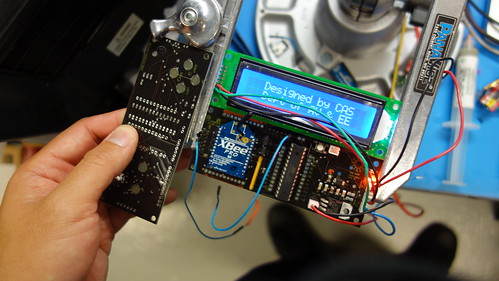
Powering up the new lightning solution!  Requirements:  clear mount [check], no dock connector[check], powered by 12 volt rails [check]!

busy bee with boards.

| No Comments | No TrackBacks

reflow toasted and all!

These "rover" boards contain an atmel 328, an xbee socket, a TI SN754410 motor controller, a RHT03 temperature & humidity sensor, and lastly, a simple photoresistor for light sensitivity.  They are based on open source designs and will be open hardware as well.  The original piecemeal prototype was exhibited at the 2013 Robot Block Party @ Stanford.

Here's the controller board and display:


The board on the left shows the backside, where the NES styled membrane buttons will trigger input.  Minus the motor controller & sensor, its essentially the same design as the rover board.  You may notice that the mcu chipset is socketed instead of SMT.  This was done just in case the boards get more hands-on use with children.  For that matter, all of the i/o are still available and configurable.

Here's my fancy lack of style/technique in applying solder paste:


The stencils were acquired via http://www.pololu.com/ and worked out really well.  The paste is chipquik NO CLEAN Sn63Pb37 (63/37), which is pretty similiar to the kester variety, but cheap and sold in quantities of 1!  This is important since most jars of solderpaste are sold in quantities of 10 or more!

Lastly, here's an early boot screen, destined to change:


more soon!  This instructables covers the prototype version.
Enhanced by Zemanta

Robot Block Party 2013

| No Comments | No TrackBacks


UP UP down down LEFT RIGHT LEFT RIGHT B A !

This rover made it's debut at 2013's Robot Block Party, and as of yet, has no official name.  It's being developed in conjunction with the CAS Department of Education, and CAS AVEE.  The rover, when complete, will be 100% open-source and open-hardware.  It will hopefully be available as a California Academy of Sciences classroom kit in the fall.

Students use the NES controller to input navigational commands.  After a transmission delay, the rover enacts the commands, then transmits atmospheric conditions to the controller.  In this manner, students can then plot out their environment and crunch some numbers.  For those of you that remember dos, its kinda like logo/turtle!

The rover prototype is made of a bare-bones construction, via arduino and xbee.  The controller is 3D printed and currently has some NES guts in it.  When complete, both the rover and controller will have open-source schematics & layout--stl files as well.  

here's some coverage and a photo by James Martin of cnet


Autodesk Design Night March 7th

| No Comments | No TrackBacks
design_night.jpg 
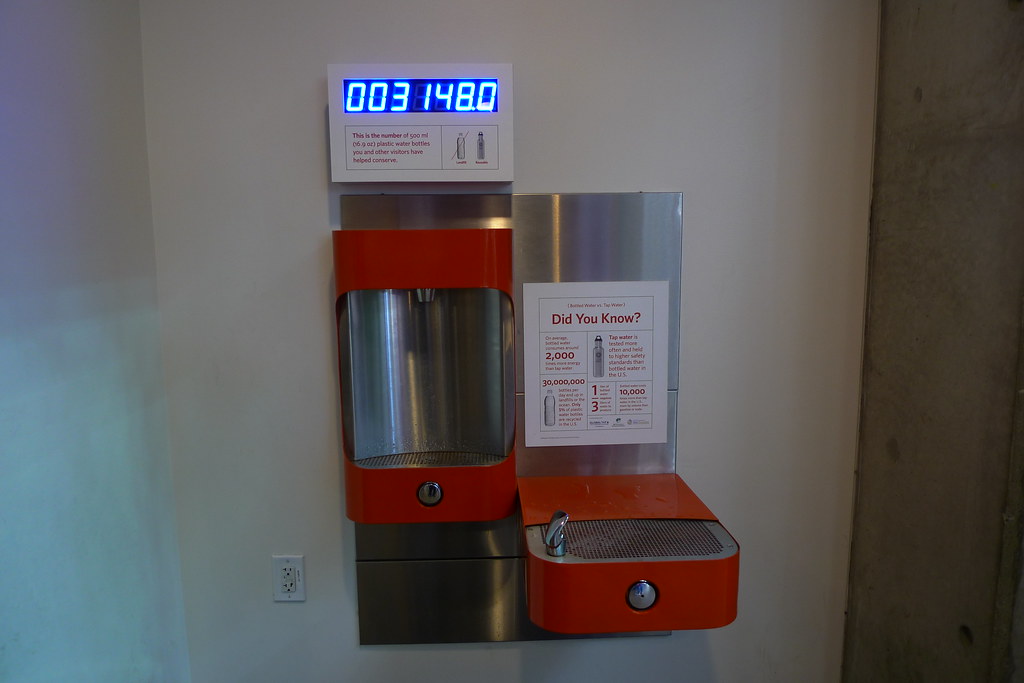
Who wants to hold our hand!?
"I just wanna hold your hand" is the participatory light show!

Capacitive touch proto w/EL panel feedback

| No Comments | No TrackBacks

Keeping it TRON, and learning from mistakes!

This is a proof of concept, demonstrating video control via capacitive touch sensors with electroluminescent feedback.  The MCU interacts with an ATMEL QT1111, while PWM controlling the high voltage EL panel through a fet and triac.  In turn it talks serial with our computer, serving out some blown-out HD video.

The atmel qt1111 can sense up to 11 inputs and is configurable for up to 10mm of sense gap.  Here we are transmitting through 6mm of tempered glass, and finally, have gotten a fast response time...which needs some background explanation:

We've used this set-up before for a previous install.  The propeller MCU speaks SPI with the qt1111, then prints the result over serial to the CPU.  This was simple and elegant, and it worked--though a bit laggy.  But at the time, we had little time to improve code.  So it was installed as is.  Flash forward to now:  another capacitive touch interactive.  This time, we can't have the lag.  All of the embedded software settings on the atmel IC were teaked, as were the noise reduction resistors and sense capacitors.  But still, we had a 1-2 second detection time.  We needed more like 100ms.  The "Print" function was dropped for a byte transmission on a whim, and low and behold, we have the speed.  The entire time, I thought it was the qt1111 that needed work, when really, the Print function on the MCU side was the time hog!  And well in hindsight, it hurts to make that nullifying realization-- for what good reason was I using print?    

Times like this, its nice to step-back and remember that it wasn't the only assigned project, but one of many.  Small details like this can have very large impacts, and if you aren't completely focused, or stretched to thin (ahem, i claim this option), than you'll feel the consequences. 

Incidentally, we'll be updating the embedded code to the previous install.  And though it's only really a "firmware update," it feels good to know that the problem has been solved.


smttoaster.jpg

the QT1111 surviving the black and decker toaster-oven!


Enhanced by Zemanta


"48 hours of holding hands!"

31 ideas, 80 people, 48 hours to design, build and code a project--only 5 to make the festival.  It culminated in a 5 minute presentation/demonstration within Intersection for the Arts.  Fortunately, project "i just wanna hold your hand" made it into october 20th festival!

It was an eye-opening weekend of talent and new possibilities.  And, a lot of hand holding!  More to come in the future...

Here's the project presentation and description by Ellen Keith, Yael Braha, Mark Roth, Tosh Chiang and Jasdeep Garcha

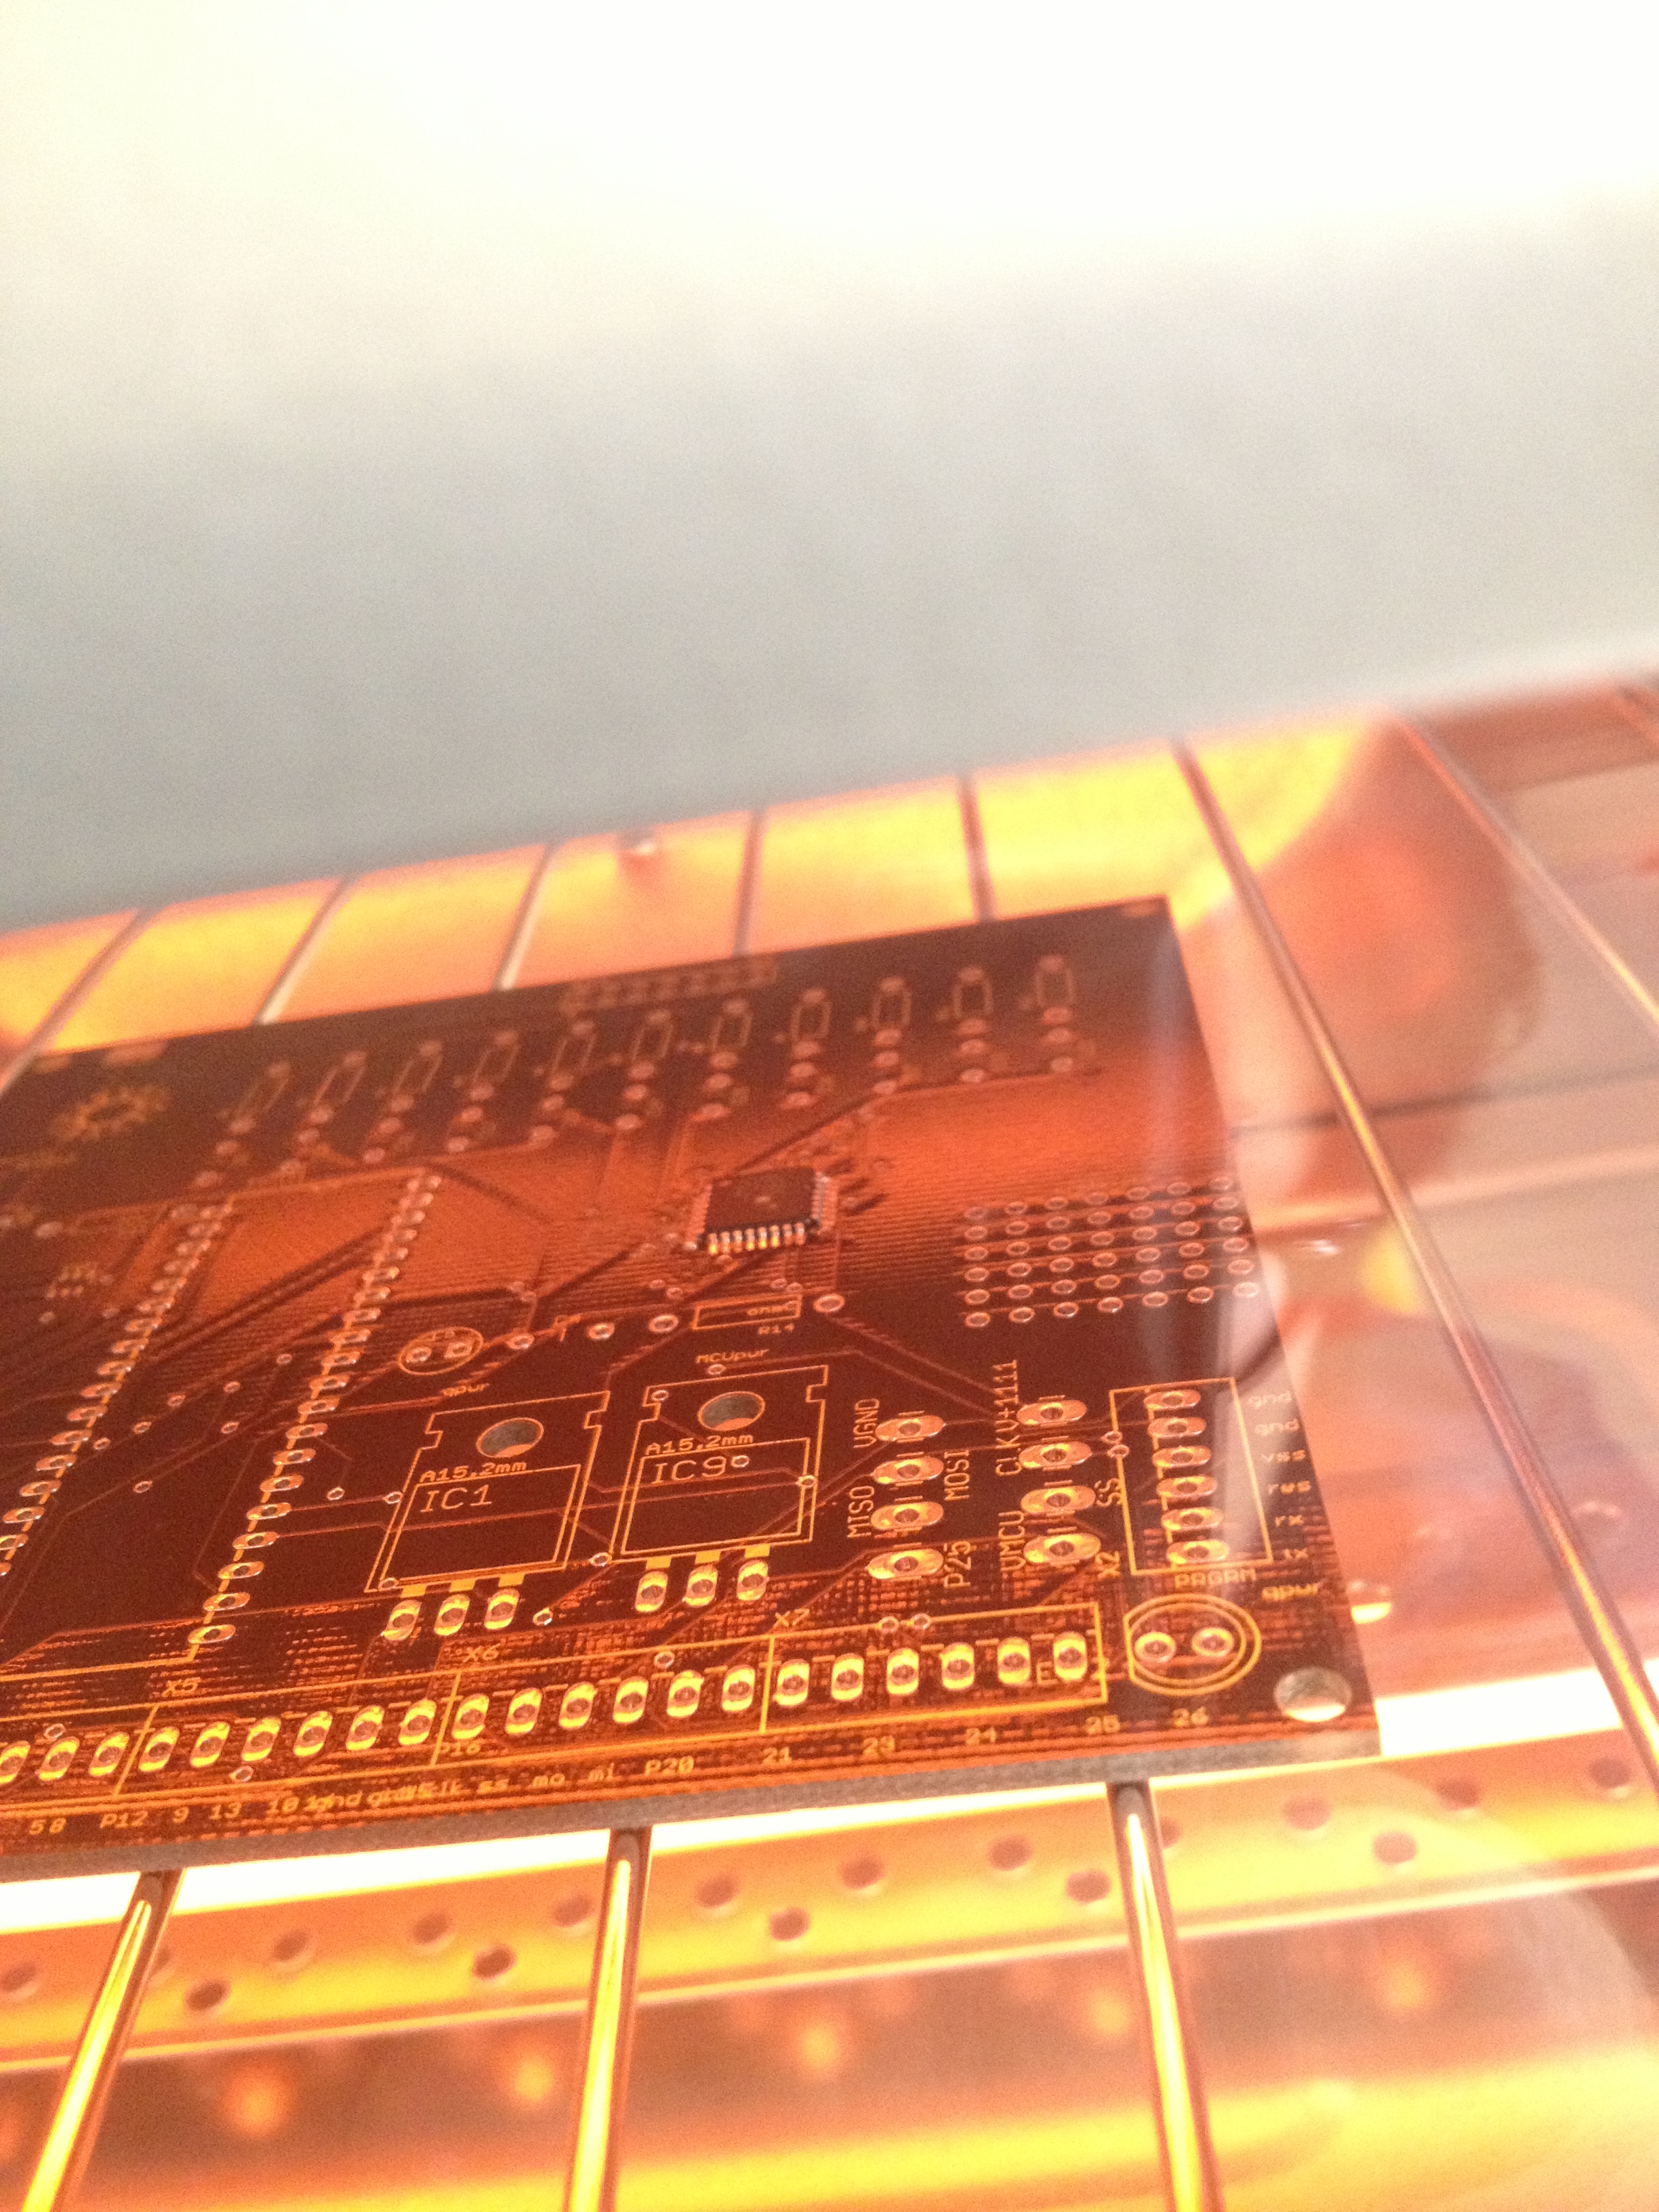
Conducting energy through people to stimulate tangible public interactions.

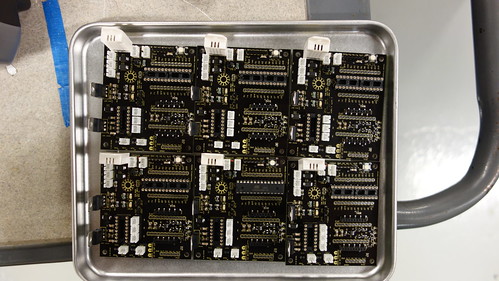
By interacting with one another people are able to transform their environment through play. Two metal hands are mounted to the wall. When two or more individuals complete the circuit they provoke audio-visual responses. The level of interactivity is determined by the flow of electricity through the individuals. The interaction can be tailored per installation; the core tool is the Arduino, and in this case we've experimented with Processing projections to activate blank city walls. storefronts, or pavement. This design allows for expansion as well as meaningful data collection. Also, we just like making people hold hands.


Enhanced by Zemanta

7-segmented display install (pt2)

| No Comments | No TrackBacks

almost pi!

Here's the finished product.  The orange fountain is made by global tap, and designed by Ideo.  The electronics, and signage are in-house.

the board with the displays (yes, there's a rework wire!):


And the original post with video!

tAmp

| No Comments | No TrackBacks


a tiny atiny microcontoller amplifier!

The 8-bit atmel attiny13  has 6 i/o and a crystal-less speed of 20mhz.  We've paired it with a 2x1 audio switch and a 2 watt utility amplifier on a 50x50mm board.  Every i/o of every chip is accesible via the terminals.  You can strip the unit down and make it just an amplifier, or just a signal generator, or just an audio switch!  This capability also gives some nice redundancy and bypass abilities.  One of the two dip-switches operate dependent on the programming of the attiny.  The second one can be used to manually control the audio switching.  The output crossover capacitor is pretty hefty at 1000uf, providing some nice low end in the speakers, but can be easily swapped out.  There's also an isp header for atmels mkII in-system programmer.  Lastly, we have a 5v regulator and a 12v regulator, both of which can be accessed via terminal.  The unit will certainly work with just a 9 volt battery, but the audio output won't quite have punch!

So, what can we do with this!? 

  • make an under water sound target for pyjama sharks (done!)
  • make a handheld function generator
  • throw in a photodiode and make a light dependent audio switch--i.e. "rise and shine!"
  • seamlessly switch two audio sources (i.e two ipods), based on any sensor
  • simple theremin with some adc and a sensor.
  • make a simple vu meter with audio feedback, or pehaps just a burglar alarm
  • generate audio based on i/o input
  • play with led's!
  • make most of the ghostbusters hand held tools
  • you get the idea!

Enhanced by Zemanta

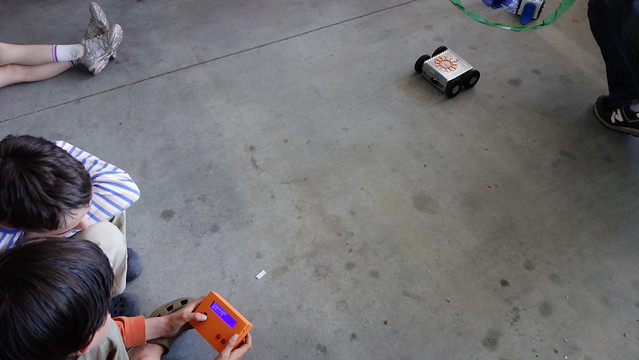
...eventually, these lights program you!

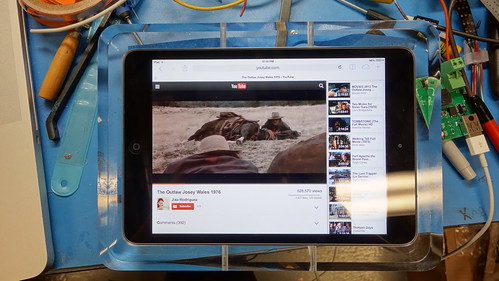
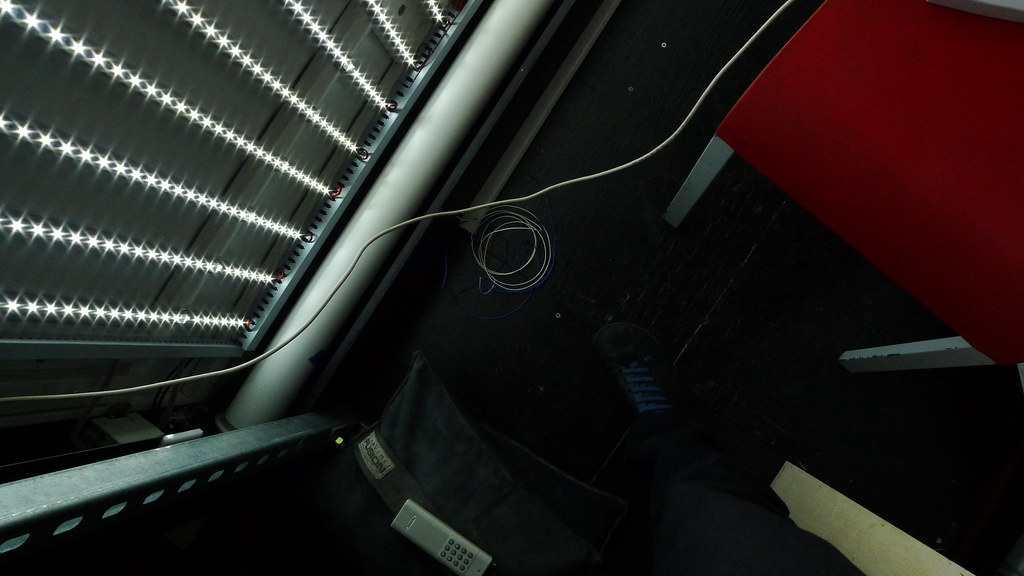
A max/msp project listing has been created here.  It gives a quickie description of how the attraction works.  The LED's pictured above are what illuminate the 1989 and 1906 alamo square skyline.  However, the photo does not give justice to their intensity.  I oft found myself siren-eyed from watching them pulsate!


Enhanced by Zemanta

love for the eel?

| No Comments | No TrackBacks
still pulsing!

a shout out to the eel shocker from sf weekly!  The original post is here!  The only change is that one of the electrodes is now a penny...

About this Archive

This page is an archive of recent entries in the electronics category.

electro-mechanical is the previous category.

exhibits is the next category.

Find recent content on the main index or look in the archives to find all content.